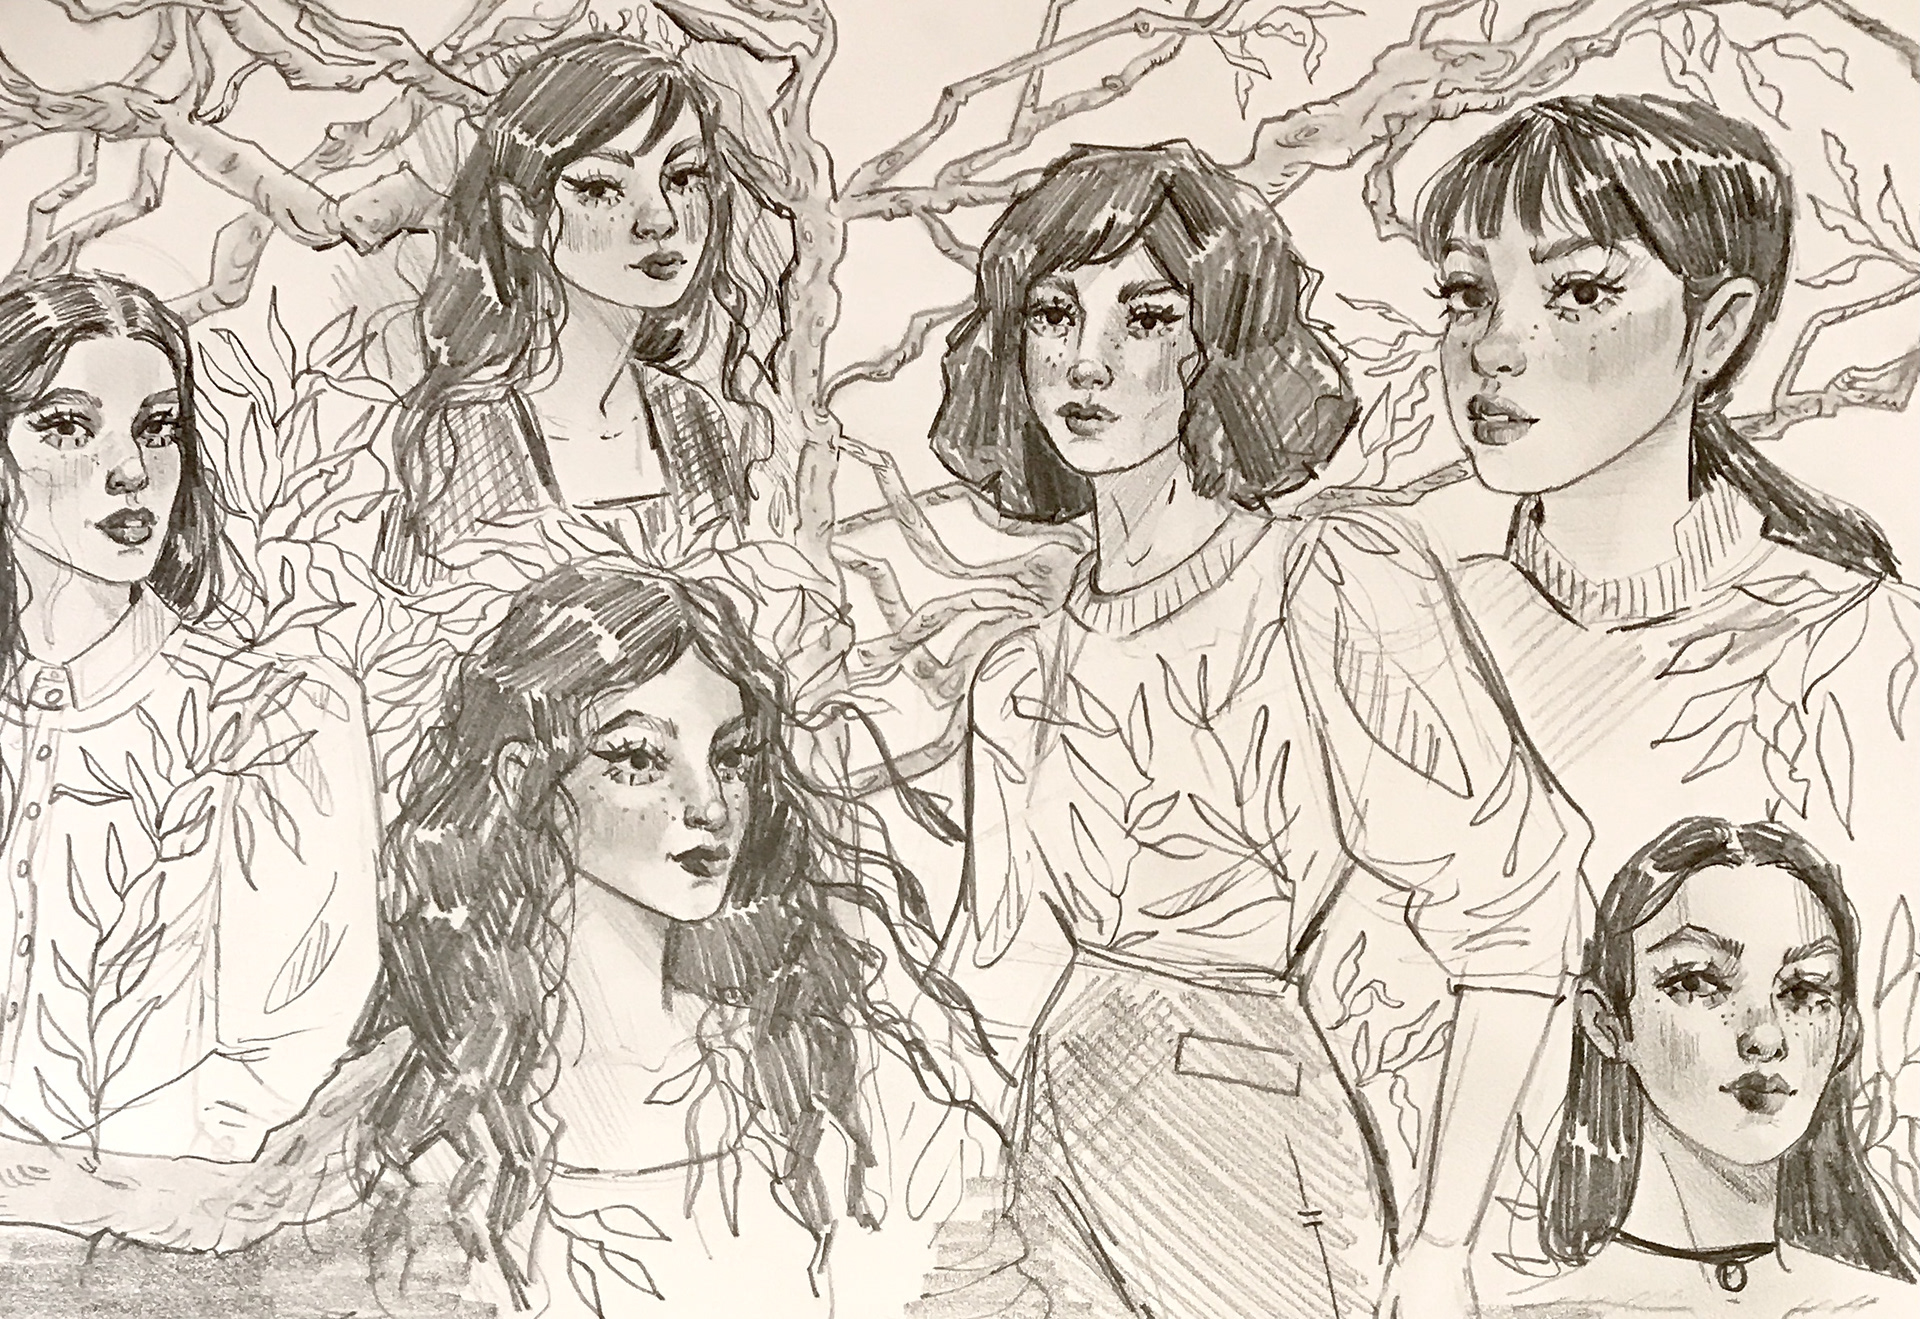
Drawing realistic portrait from a reference PHOTO
7 easy steps
Introduction to Drawing a portrait
Drawing people can be difficult, but it doesn’t have to be. All you need is some practice and a good observation.
Drawing from a reference photo is a great way to learn how to draw people without pressure.
The key to drawing people is to focus on the proportions. When you’re starting, it’s best to take your time and focus on the basics. Once you get the hang of it, you can start to add more complexity and detail to your drawings.
1. Have a good reference Photo
Before you get started, you’ll need to find a good reference photo.
It’s really important to choose a photo that is clear and has good lighting. You want to be able to see the details of the person’s face.
You should also choose a photo that is close up, as this will make it easier to capture the details.
This can be a photo from a magazine or online. I love sketching from online shops like h&m or Zara, I also use a lot Pinterest.
2. Draw very lightly
At the beginning of your sketch, you have to be very light with your pencil; you want to be able to erase any mistakes.
You have to press so lightly that your pencil barely touches the paper.
When you are happy with your construction lines you can gradually increase the pressure.
3. Draw the center line
No matter the view of your model (front view, 3/4 view) Always draw the center line of the face.
The center line will help you place the facial features more accurately.
4. Draw simple shapes
Think with shapes, see everything with shapes.
Start to break down your sketch into simple shapes (round, oval, lines...). Round for the eyes, triangle or round for the nose, etc...
5. Reverse your drawing
Seeing your sketch in reverse can help you see mistakes. If you spend a long time on your sketch, it can be difficult to see your errors.
By flipping your drawing you can see it from another angle and easily correct yourself.
6. Draw Shadows Shapes
I suggest you to print the photo reference and trace the shadow shapes with a marker. It's a great way to understand where the light and shadows come from. Then place them on your sketch.
7. Add lights with your eraser
Rub and Add tone with your pencil and then with your eraser start to pick out the light areas. It's an easy way to place your light values.
If you have any questions or requests, don't hesitate to contact me.
Thank you!I’ll get back to you as soon as I can.Melisende Vector